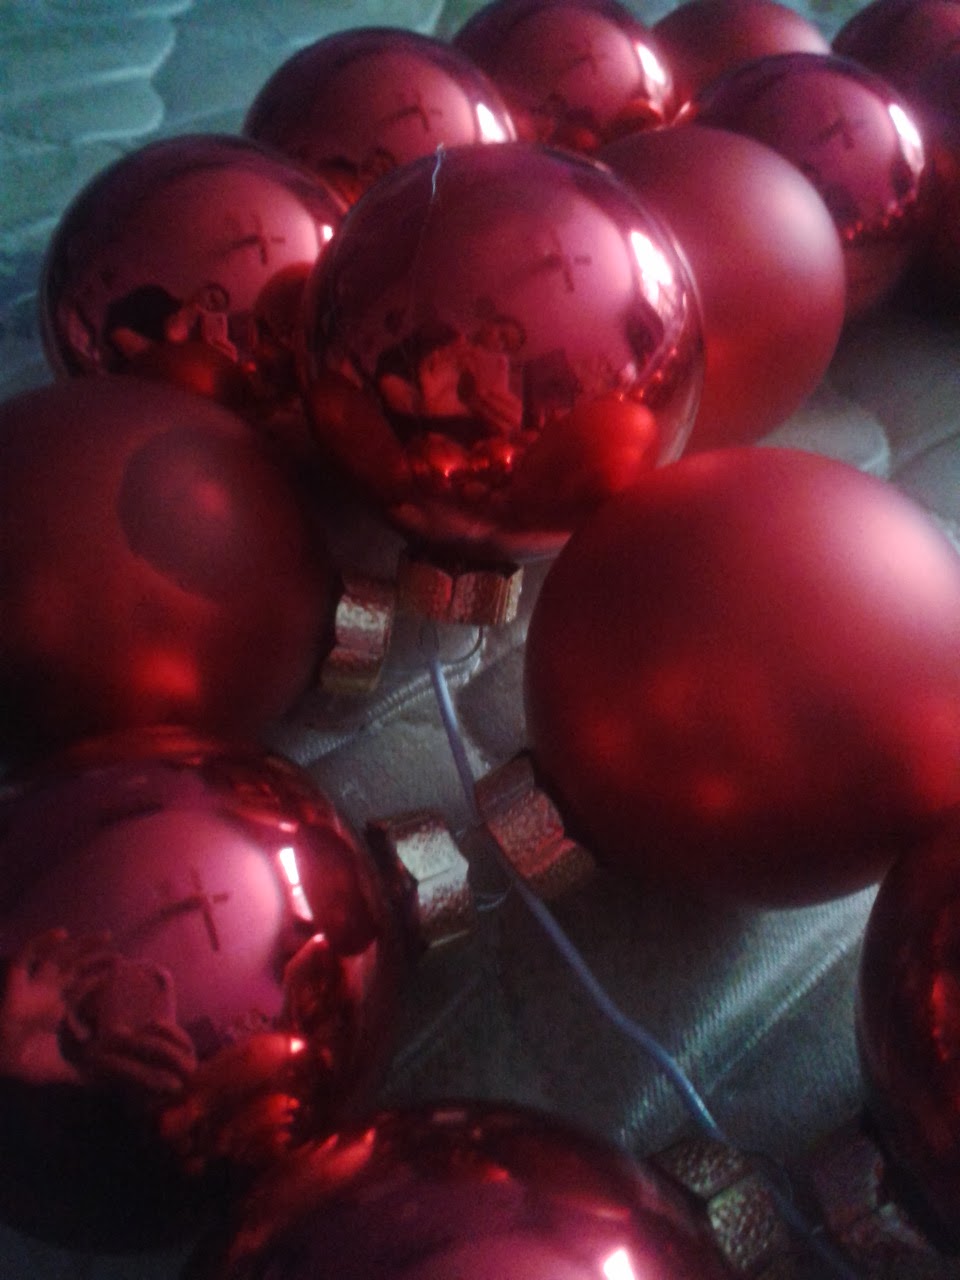
Ya know...those wreaths made of all those extra, unwanted, cool looking Christmas Ball Ornaments.
Well I finally took my chances and gave it a shot. I've totally changed my colour scheme of my Christmas decor over the last few years to those nice bright colours of purple, green, blue, and pink...like the ones in my previous wreaths. Before I was all over the place. Any ornament I received or had bought in the last 20 years was put on the tree! How unorganized I was! I've finally got it together!
Anyways about 7years ago, or longer I can't really remember, when I first started working at Canadian Tire we were able to go into the warehouse and put dibs on broken items that weren't able to go back to the manufacturers and buy them for a few dollars, or whatever the price was that they were marked. The first time I went back there was when we were receive all of the Christmas ornaments and there was a container of about 40 or so red Christmas balls, 2 were broken. So I got a deal on them...but I never used them! They were sitting up in the attic.
Well what a perfect way to try the wreath! I also had a pack of little blue Christmas Balls (yes, I separated that for a reason!)...just enough!
Here's a little D.I.Y.
First pull out all the Christmas Balls that you have and lay them out where they are easily accessible.
Get your glue gun plugged in and grab your first ball. Pull the metal portion away from the top of the ball.
Once you have all of the balls done take an old wire coat hanger that you don't need anymore, and bend it into the best circle that you can get it. Untwist the two ends of the hanger so you are able to start sliding the balls on to the hanger. They should end up looking something like this...
It's not a perfect circle, but once it's done it really doesn't matter if it's perfect or not, as long as you are happy with it. Once you've got it looking the way that you like, twist the two ends of the wire back together (you may need a pair of pliers for this).
Next you will take remaining balls and get them placed on top so they start filling in the obvious wire showing and holes that are visible. These wont be attached to the hanger, so you still need the glue gun. Take a ball and make a glue ring around it close to the top.
Quickly place it so its filling a hole and make sure you press the balls that are underneath it up to it so it all sticks together and makes a solid wreath! Once you get it all around it should look a lot more full, not perfect, but better.
After this I went around the wreath adding in a dab of glue between each of the balls, securing them all together. Once all the glue is dried (leave it for about 4 minutes just to be certain), lift it by the hanger. If you hear any of the glue come unstuck you need to add in an extra dab.
I took some translucent red ribbon, weaving it through some of the holes.
After I got all the ribbon through I began to figure out how I was going to place the little blue Christmas balls. I used the same technique on them as I did the middle red ones (the ring of glue around the ball), placing them accordingly.
Some of the glue looks a little obvious in the pictures, but once it's up on the door no one will notice it!
With the ribbon ends, I tied them in a knot at the top, where the hanger was twisted back together. There are 2 pieces that are covering up the wire that was twisted together (just in case there are marks if you used the pliers).
And here's my final product.
I hope you have fun with yours and especially have fun with the colours you choose! They are amazing looking :) I'm so happy with mine, even though I was unsure about it the entire time I was making it...especially using glue! I guess I'll see how well that holds up though. If you end up making one comment with a picture of it, I'd love to see if this works for everyone else!


No comments:
Post a Comment